Follow Me On Social Media!

Vintage Eggnog Bread: Irresistibly Festive and Cozy Delight
Introduction to Vintage Eggnog Bread
Imagine a cozy winter evening, snow gently falling outside, as you gather with friends and family around the kitchen. The warm, rich aroma of baking bread fills the air, reminiscent of holiday gatherings past. Vintage eggnog bread is not merely a recipe; it’s a cherished tradition that wraps you in the comforts of the season. Each bite evokes the nostalgia of childhood holidays, where savory and sweet mingled like old friends.
So, what sets vintage eggnog bread apart from the quintessential holiday bakes? This delightful loaf is infused with the flavors of traditional eggnog—think nutmeg, vanilla, and a splash of spirited joy. Enriched with both the creamy essence of eggnog and a hint of bourbon or rum (if you choose), every slice is a celebration of the holiday spirit. It’s perfect for breakfast, dessert, or even a midnight snack, allowing you to indulge in the merriment long after the festivities have ended.
The beauty of vintage eggnog bread lies not only in its taste but also in its versatility. You can easily customize it with mix-ins like dried cranberries or pecans, adding your personal touch. In a world where time often feels limited, baking this bread becomes an opportunity to slow down, engage in a little kitchen magic, and create delightful memories with loved ones.
What makes Vintage Eggnog Bread a holiday favorite?
- Unique Flavor Profile: The combination of eggnog spices—nutmeg and cinnamon—creates a warm, festive flavor that is synonymous with the holidays.
- Moist and Tender: Thanks to the eggnog and butter, each slice is incredibly moist and tender, making it irresistible straight from the oven.
- Perfect for Gifting: Packaged beautifully, this bread makes a thoughtful and delicious holiday gift for friends, family, or neighbors.
Baking vintage eggnog bread is not just about the finished product; it’s about embracing the holiday spirit, one slice at a time. So, gather your ingredients, and let’s create some joyful moments in the kitchen!
Key Ingredients for Vintage Eggnog Bread
Flour: The foundation of my vintage eggnog bread is all-purpose flour. It provides that essential base for achieving a soft, tender crumb that makes every slice delightful.
Baking Powder and Baking Soda: These two leavening agents work in harmony to ensure our bread rises perfectly, creating a light and airy texture that’s simply irresistible.
Spices: I like to embrace the festive spirit with ground nutmeg and cinnamon. Their warmth and aroma not only enhance the flavor but also invoke memories of cozy holiday gatherings.
Butter: Using unsalted butter adds richness, making each slice moist and melt-in-your-mouth good. It’s the secret ingredient for that delectable taste that pairs wonderfully with a warm cup of coffee or tea.
Sugar: I always reach for granulated sugar, which adds the right amount of sweetness and helps form that lovely golden crust that’s just so inviting.
Eggs: Incorporating eggs into the mix contributes to the structure of the loaf, all while ensuring it stays moist and tender throughout.
Eggnog: This unique ingredient is what truly sets my vintage eggnog bread apart. It infuses the bread with a creamy flavor and a delightful hint of holiday spirit that you won’t soon forget.
Vanilla Extract: A splash of vanilla elevates the flavor profile, rounding out the taste beautifully and making each bite truly special.
Why You’ll Love This Recipe
Vintage eggnog bread brings the warmth of the holidays right into your kitchen, reminding you of cozy family gatherings and sweet, fragrant memories from your childhood. Imagine biting into a slice of that soft, spiced bread while savoring a mug of your favorite warm drink—it’s absolutely delightful.
Perfect for Every Occasion
This recipe is not just for Christmas! While it beautifully complements festive celebrations, it can be enjoyed year-round. Picture enjoying it for brunch with friends or serving it at a casual get-together, impressing your guests with your baking prowess.
Quick and Easy to Bake
Let’s be honest: life can be busy. What’s great about this vintage eggnog bread recipe is how straightforward it is. With just a handful of ingredients and minimal preparation time, you can have a deliciously fragrant loaf in your oven, inviting everyone to come to the table.
Versatile and Customizable
One of the best parts about this bread is its adaptability. Want a little extra warmth? Consider adding a sprinkle of nutmeg or cinnamon to the batter. Feeling adventurous? Toss in some dried fruits or nuts for added texture. Whatever you choose, the result will be nothing short of amazing.
Memories in Every Slice
Baking this eggnog bread isn’t just about the delicious outcome; it’s about creating memories. Whether it’s shared with family, friends, or just enjoyed during a quiet moment, each slice tells a story.
Variations of Vintage Eggnog Bread
Exploring the vintage eggnog bread recipe unlocks a world of delightful possibilities that extend beyond the traditional loaf. Each variation can add a unique twist while retaining the rich, nostalgic flavors we love.
Seasonal Spice Twist
Imagine adding a touch of cardamom or nutmeg to the batter, enhancing that classic eggnog essence. These spices not only bring warmth but also evoke memories of cozy winters spent with loved ones.
Fruit and Nut Medley
For a more textured experience, consider folding in dried fruits and nuts such as cranberries, pecans, or walnuts. Their natural sweetness and crunch create an interesting contrast to the soft bread, making each bite feel like a celebration.
Chocolate Delight
Why not elevate your vintage eggnog bread by incorporating chocolate chips? This unexpected addition harmonizes beautifully with the eggnog flavors, offering a rich, decadent treat that will surely win over chocolate lovers.
Glazed Wonders
A simple glaze made of powdered sugar and eggnog can transform your bread into a stunning centerpiece. Drizzle it over the top just before serving for a visually appealing and delicious finish that delights both the eyes and the palate.
By experimenting with these variations, your vintage eggnog bread can become a versatile delight, perfect for any holiday gathering or cozy night in. What creative take will you try first?
Cooking Tips and Notes for Vintage Eggnog Bread
Crafting the perfect vintage eggnog bread isn’t just about following the recipe; it’s about embracing the warmth and nostalgia that comes with each bite. This bread, reminiscent of cozy holiday gatherings, invites everyone into the kitchen. Let’s dive into some helpful tips that will elevate your baking experience.
Choose Quality Eggnog
The heart of this recipe is, of course, the eggnog. Opt for a high-quality, store-bought eggnog or whip up your own for a personal touch. Homemade eggnog can provide a fresher flavor punch, especially if you use the best spices like nutmeg and cinnamon. Don’t hesitate to add a little dash of rum if you like your eggnog a tad spirited!
Measure Ingredients Accurately
Baking is a science, so be precise when measuring your ingredients. Using a kitchen scale can ensure that your flour and sugar ratios are spot-on. Also, remember to sift your flour to avoid clumping, allowing for a lighter texture.
Mix Carefully
When combining your wet and dry ingredients for vintage eggnog bread, mix them just until incorporated. Overmixing can lead to a denser bread, which is not what we want when aiming for that fluffy, melt-in-your-mouth texture.
Cooling is Key
After baking, let your bread cool in the pan for about 10 minutes before transferring it to a wire rack. This prevents it from becoming soggy and helps maintain that perfect crust.
These tips will not only enhance your vintage eggnog bread but also make the baking process enjoyable. Happy baking!
Serving Suggestions for Vintage Eggnog Bread
The allure of vintage eggnog bread lies not just in its heartwarming flavor but also in its versatility for delightful serving experiences. Imagine this aromatic bread on a cozy winter morning, perhaps paired with your favorite coffee or tea. Here are some fun serving suggestions to elevate your vintage eggnog bread to new heights:
-
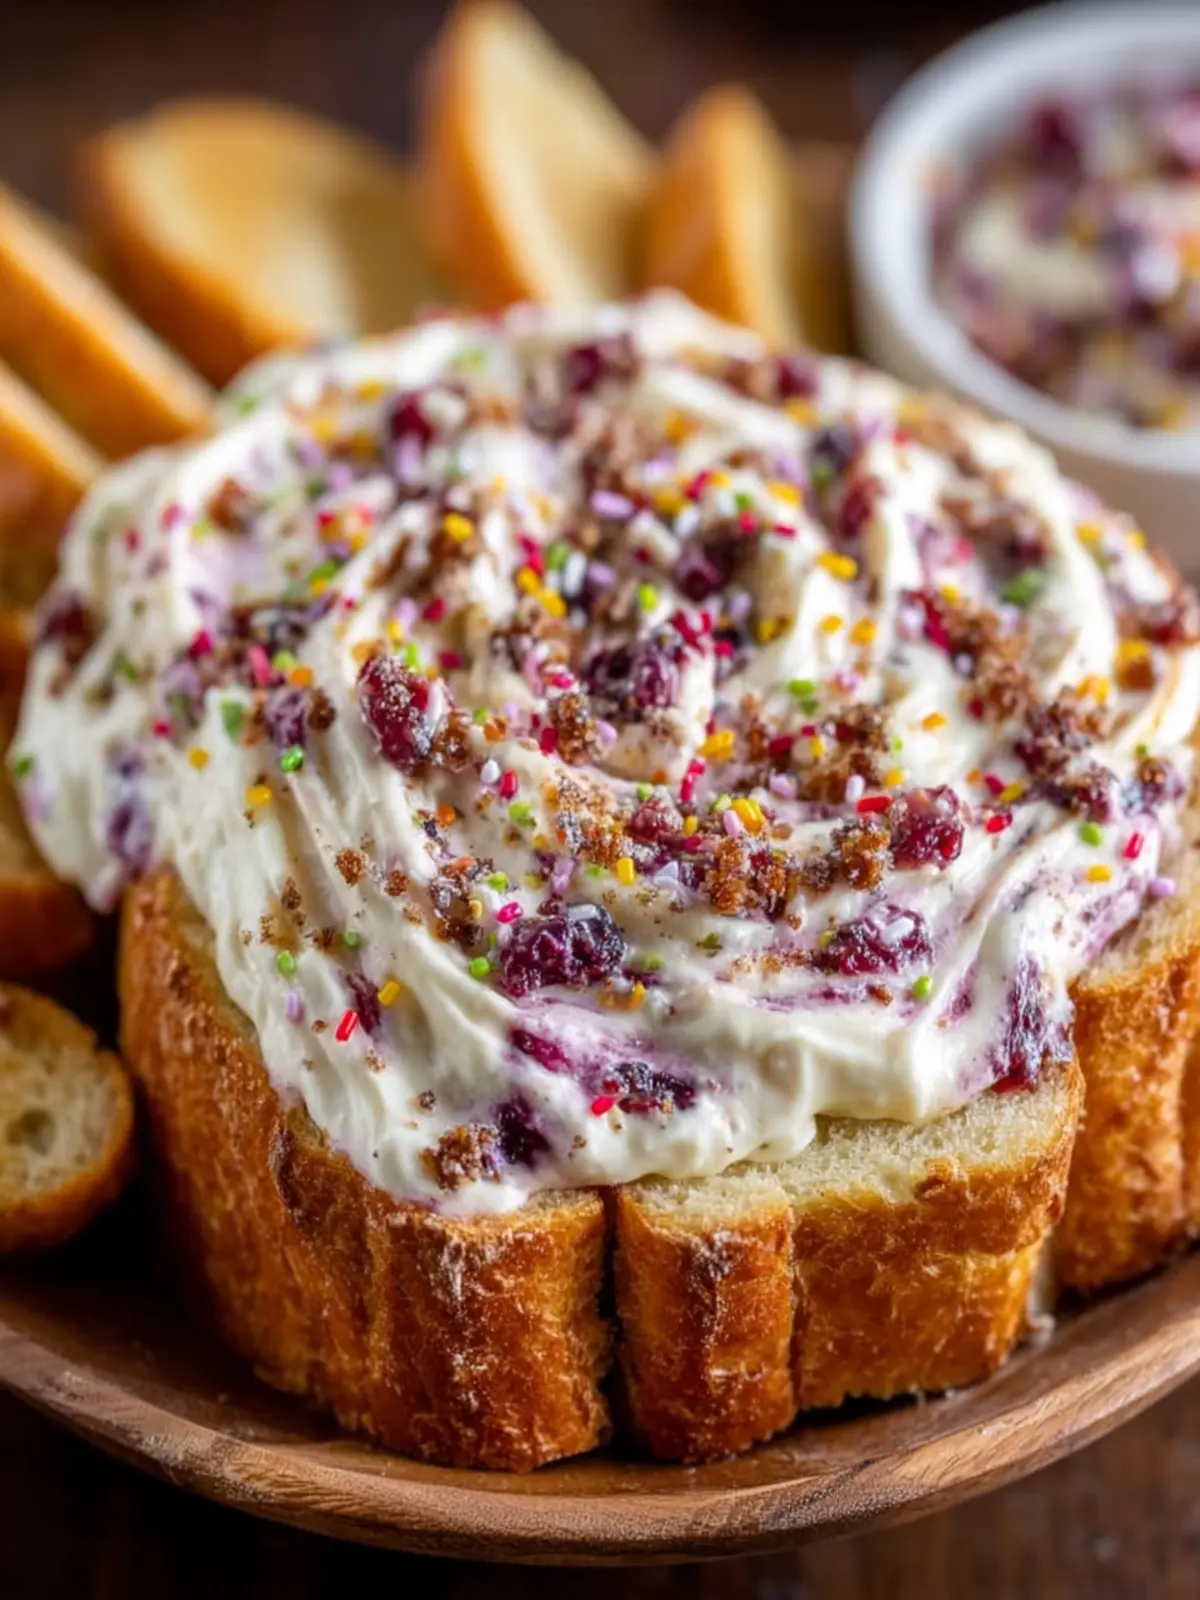
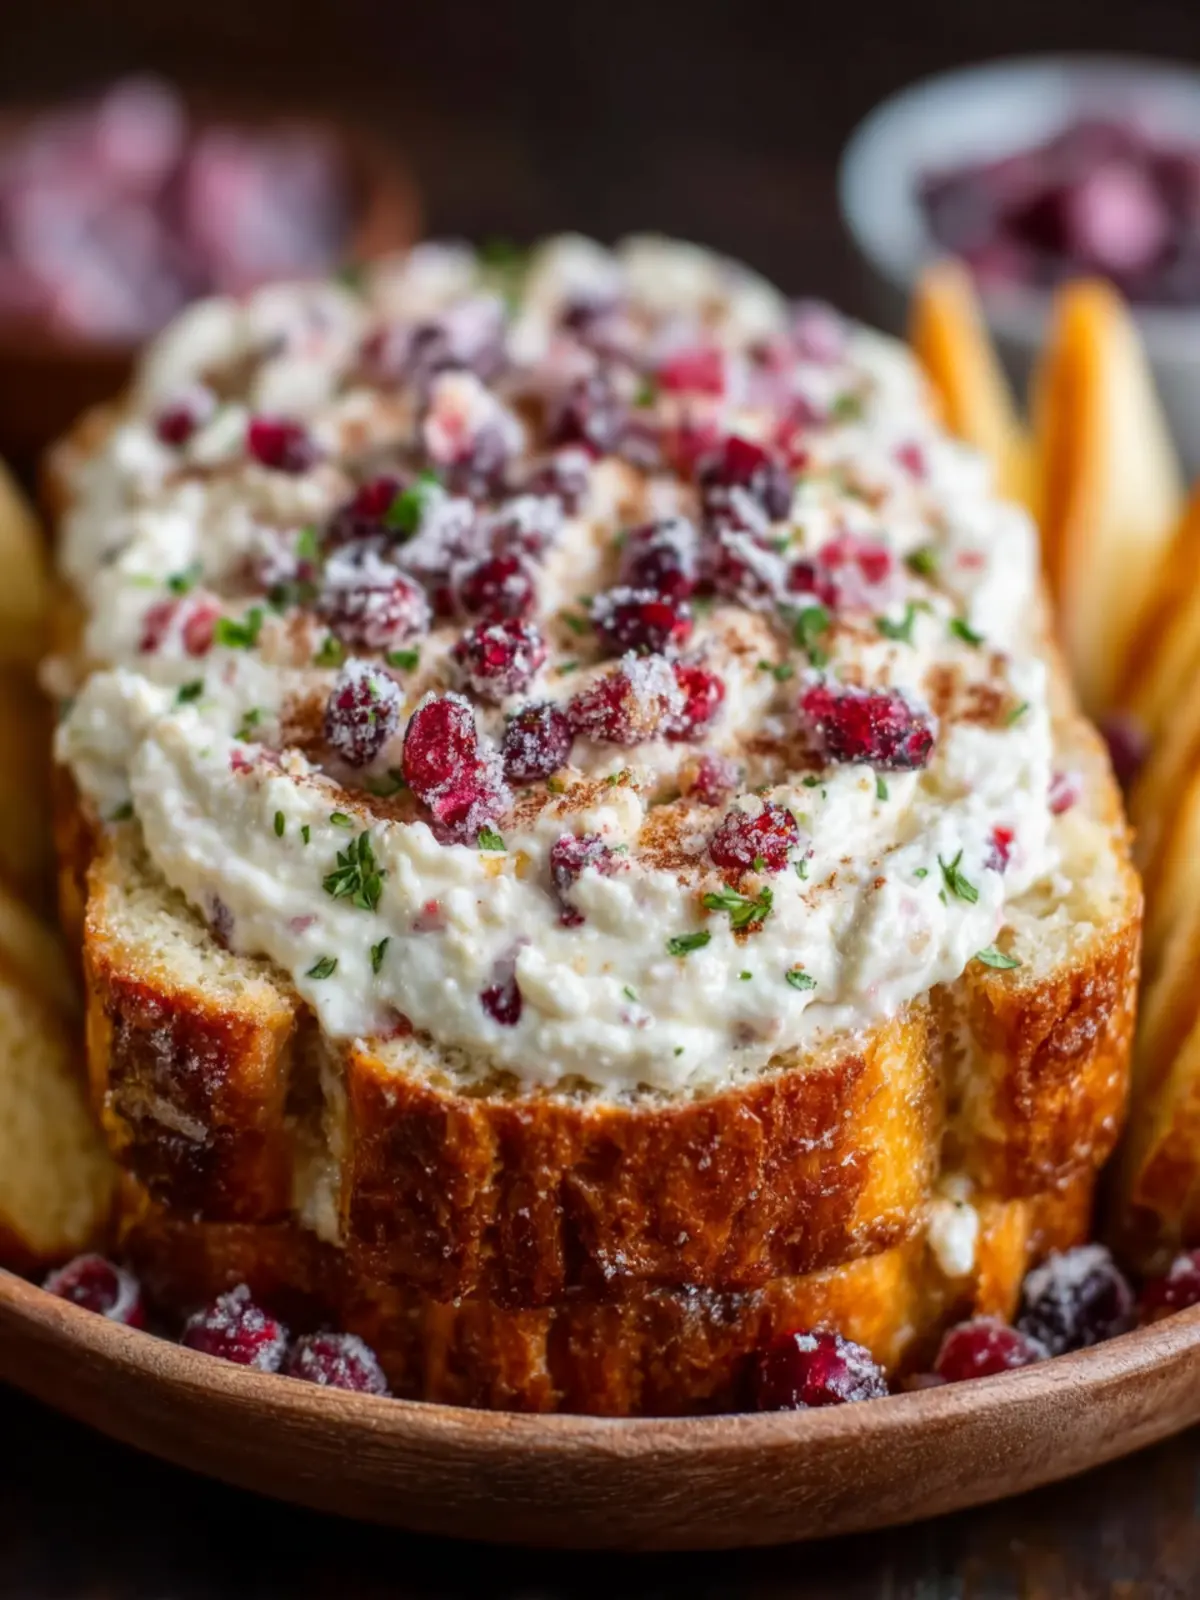
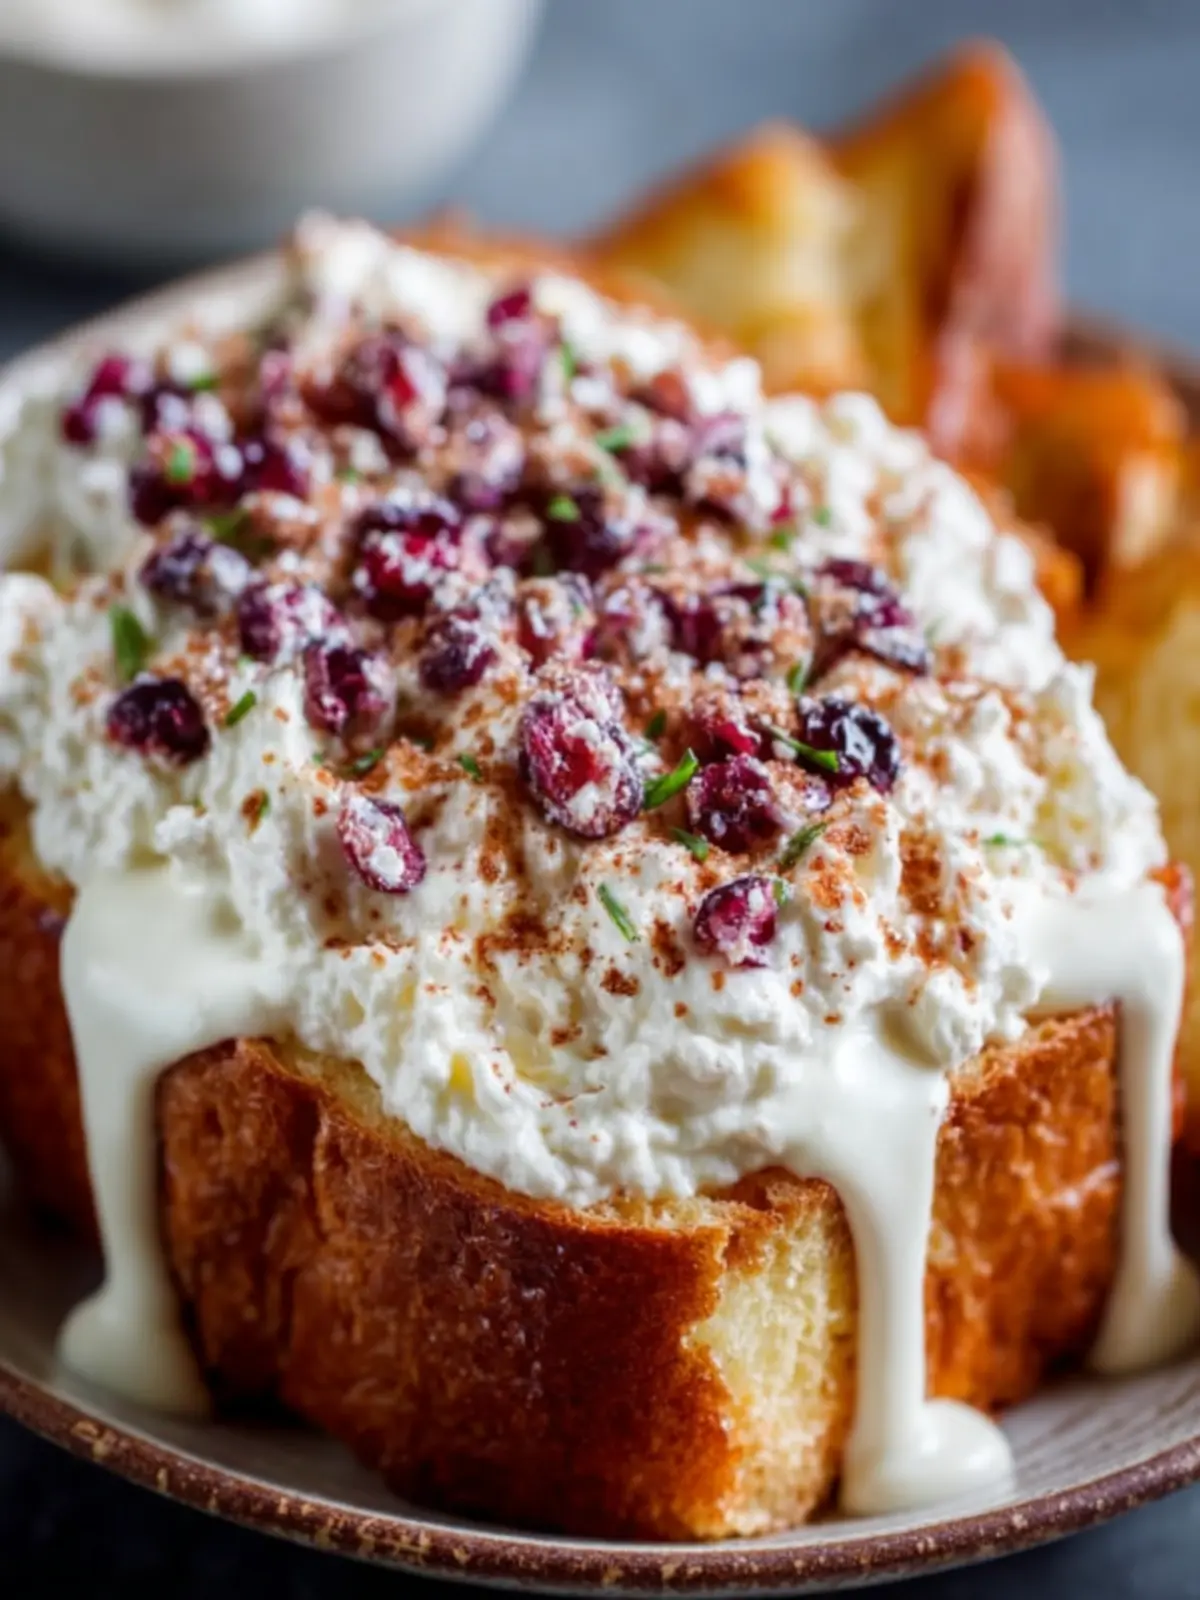
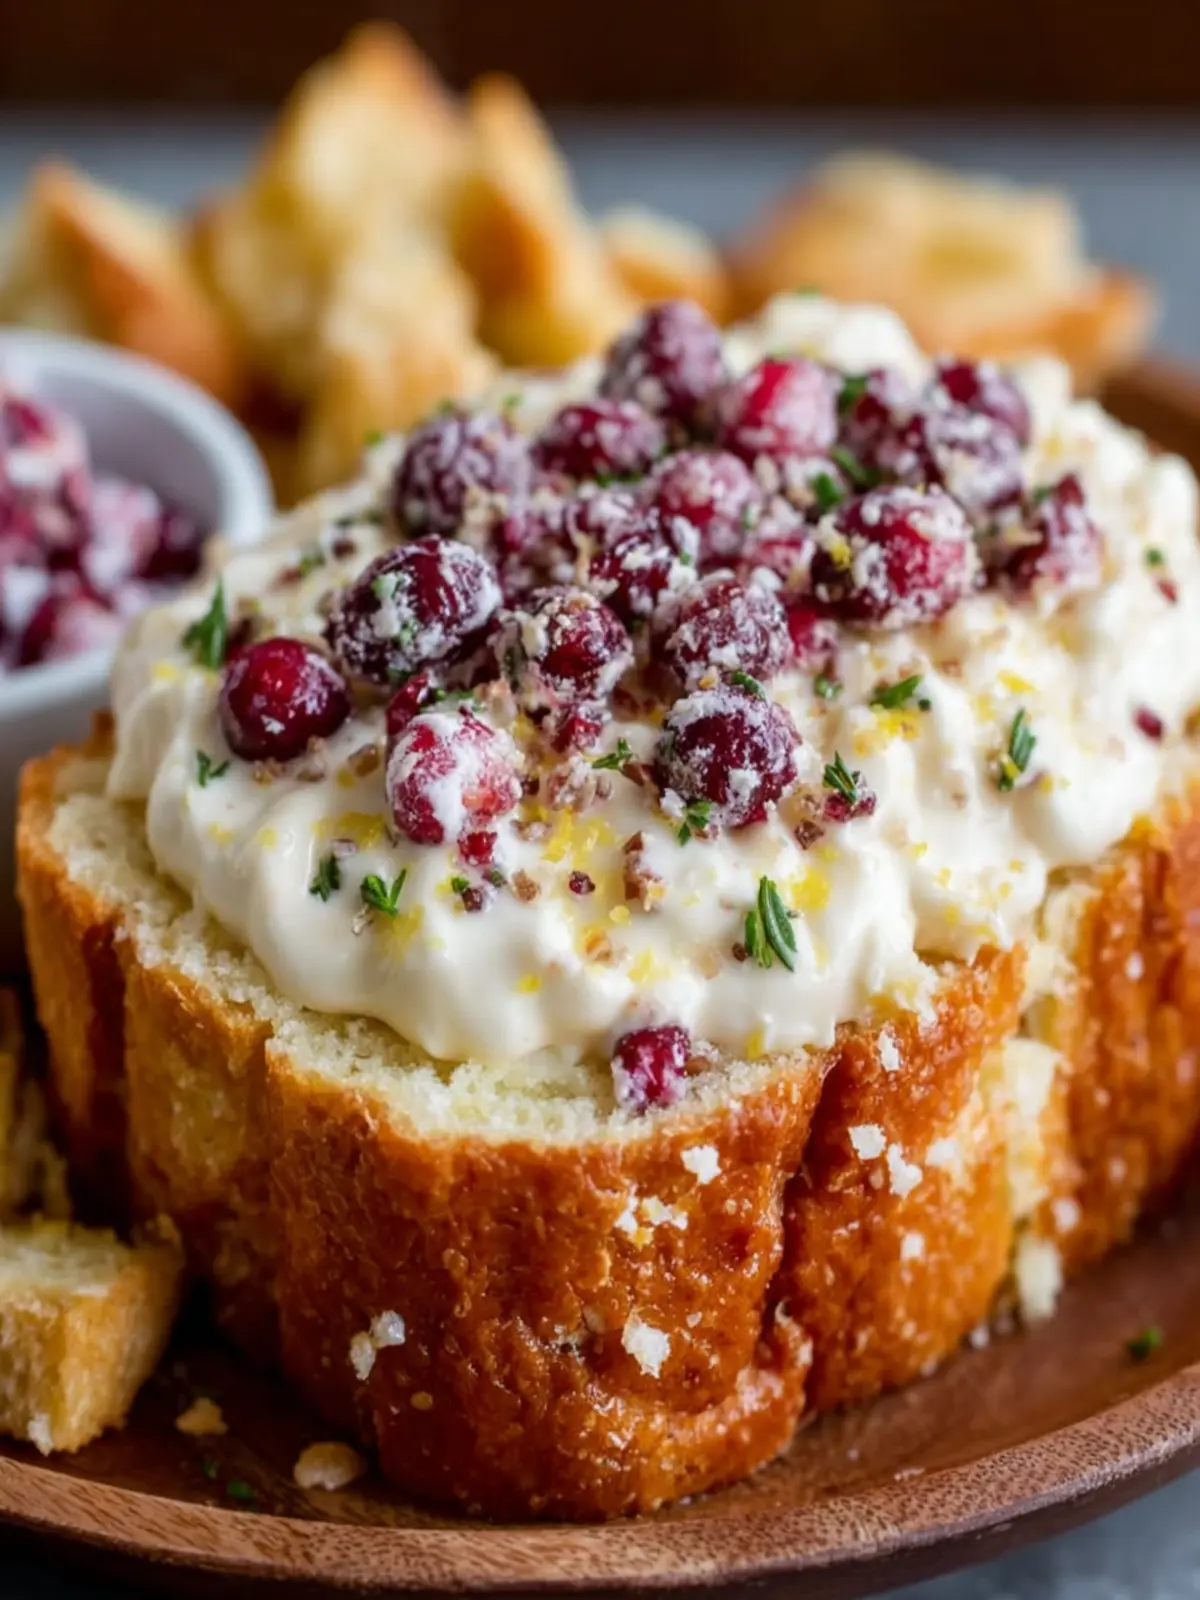
Spreadable Delights: Cream cheese or mascarpone can bring an indulgent twist. Simply spread a layer over a slice of your warm bread for a rich, creamy experience.
-
Accessorize with Fruits: Top with fresh cranberries or slices of pear for a festive touch that pairs beautifully with the spiced notes of the bread.
-
Warm it Up: Briefly toast your vintage eggnog bread, and serve hot with a pat of butter melting atop. The warmth unlocks even more flavor!
-
Make it a Dessert: For a special treat, serve slices with a scoop of vanilla ice cream and a drizzle of caramel sauce—because who can resist a little indulgence during the holidays?
Don’t hesitate to experiment with these suggestions to create the perfect winter treat that suits your style!
Time Breakdown for Vintage Eggnog Bread
When crafting your delightful vintage eggnog bread, it’s essential to manage your time wisely. This charming recipe not only fills your kitchen with warmth and aromas but also allows you to savor the process. Here’s a concise time breakdown to guide you.
Preparation Time
Spend about 15 minutes getting all your ingredients together and mixing the batter. It’s just enough time to channel your inner baker and get your kitchen ready for a sweet holiday treat.
Baking Time
Once your vintage eggnog bread is in the oven, it will take approximately 50-60 minutes to bake to golden perfection. This is the perfect opportunity to enjoy a cozy moment with family or friends while it fills your home with its festive scent.
Total Time
In total, you’re looking at around 1 hour and 15 minutes from start to finish. It’s a small investment of time for a wonderfully rich and flavorful bread that captures the essence of the season!
Nutritional Facts for Vintage Eggnog Bread
Understanding the nutrition behind vintage eggnog bread allows you to savor each bite while being mindful of your health. Here’s a quick breakdown of the key components:
Calories
A slice of vintage eggnog bread packs about 250 calories. It’s the perfect treat for the holidays without derailing your dietary goals, especially when enjoyed in moderation.
Protein
You’ll find roughly 4 grams of protein per serving. This helps to provide energy and keep you feeling full longer, making it a delightful brunch option or an afternoon snack.
Sodium
Each slice contains approximately 160 milligrams of sodium. While not overly salty, this is still a good figure to keep in mind, especially if you’re watching your sodium intake. Enjoying this festive bread as a part of a balanced diet can help you indulge without guilt.
FAQs about Vintage Eggnog Bread
When holiday cheer and culinary creativity collide, vintage eggnog bread emerges as a nostalgic favorite. It’s more than just a delightful treat; it evokes memories of cozy gatherings and festive celebrations. Here are some frequently asked questions that can help enhance your baking experience!
Can I use non-alcoholic eggnog?
Absolutely! Using non-alcoholic eggnog is a great way to enjoy this classic bread without the added spirits. It won’t sacrifice flavor; instead, it allows everyone to indulge in this festive treat, making it perfect for gatherings with all age groups. Just be sure to select a quality eggnog—rich and creamy varieties will yield the best results.
How can I make this recipe healthier?
Transforming your vintage eggnog bread into a healthier version is simple! Here are a couple of easy swaps you can consider:
- Whole Wheat Flour: Substitute part or all of the all-purpose flour with whole wheat flour for added fiber and nutrients.
- Reduced Sugar: You can cut down on sugar by ¼ to ½ without significantly affecting the taste. Alternatively, try natural sweeteners like honey or maple syrup.
- Greek Yogurt: Incorporate Greek yogurt in place of some butter or oil to reduce fat and boost protein, making the bread a bit more wholesome.
What is the best way to store leftover bread?
To keep your vintage eggnog bread fresh, store it in an airtight container at room temperature for up to three days. If you want to extend its shelf life, consider freezing it. Wrap the bread tightly in plastic wrap, then place it in a zip-top freezer bag. It can be frozen for up to three months. When you’re ready to enjoy it again, simply thaw and reheat for that just-baked taste!
Conclusion on Vintage Eggnog Bread
In wrapping up our journey through vintage eggnog bread, it’s clear this delightful treat is a staple that brings a warm, festive spirit to any gathering. The combination of rich flavors and moist texture makes it perfect for sharing with friends or savoring during a quiet evening at home.
Think about the joy of pulling a loaf from the oven, making your home smell like the holidays. As you slice into it, the nostalgia of cherished memories fills the room. So why not bake a loaf today? You might just find that vintage eggnog bread becomes a cherished tradition for years to come. Enjoy every slice!
Print
Eggnog Bread
- Total Time: 1 hour
- Yield: 1 loaf 1x
- Diet: Vegetarian
Description
This delicious eggnog bread is perfect for the holiday season!
Ingredients
Scale
- 2 cups all-purpose flour
- 1 ½ tsp baking powder
- ½ tsp baking soda
- ½ tsp salt
- 1 tsp ground nutmeg
- ½ tsp ground cinnamon
- ½ cup unsalted butter, softened
- ¾ cup sugar
- 2 large eggs
- 1 cup eggnog
- 1 tsp vanilla extract
- Optional: ½ cup raisins or chopped nuts
Instructions
- Preheat oven to 350°F (175°C). Grease a 9×5-inch loaf pan.
- In a medium bowl, whisk together flour, baking powder, baking soda, salt, nutmeg, and cinnamon.
- In a large bowl, cream butter and sugar until light and fluffy.
- Beat in eggs, one at a time, then stir in vanilla extract.
- Gradually add dry ingredients alternately with eggnog, mixing until just combined.
- Fold in raisins or nuts if using.
- Pour batter into prepared loaf pan and smooth the top.
- Bake 40–45 minutes, or until a toothpick inserted in the center comes out clean.
- Let cool in pan 10 minutes, then transfer to a wire rack to cool completely.
Notes
- This bread can be enjoyed warm or at room temperature.
- Consider adding a glaze for extra sweetness.
- Prep Time: 15 minutes
- Cook Time: 45 minutes
- Category: Dessert
- Method: Baking
- Cuisine: American
Nutrition
- Serving Size: 1 slice